
A diferencia de nuestro demo de Mobile Services, el service bus de Azure requiere SSL si o si y Netduino 2 Plus no lo soporta. Consumir o enviar data a Mobile Services, es cool, pero definitivamente el poder de IoT está en la mensajeria y para eso necesitaba Azure Service Bus.
Pues bien después de varios frustrantes días, ayer llegó la noticia nueva al fin para quienes nos gusta Netduino, y es la bienvenida a la familia, del Netduino 3 Wifi, con soporte por supuesto a SSL.
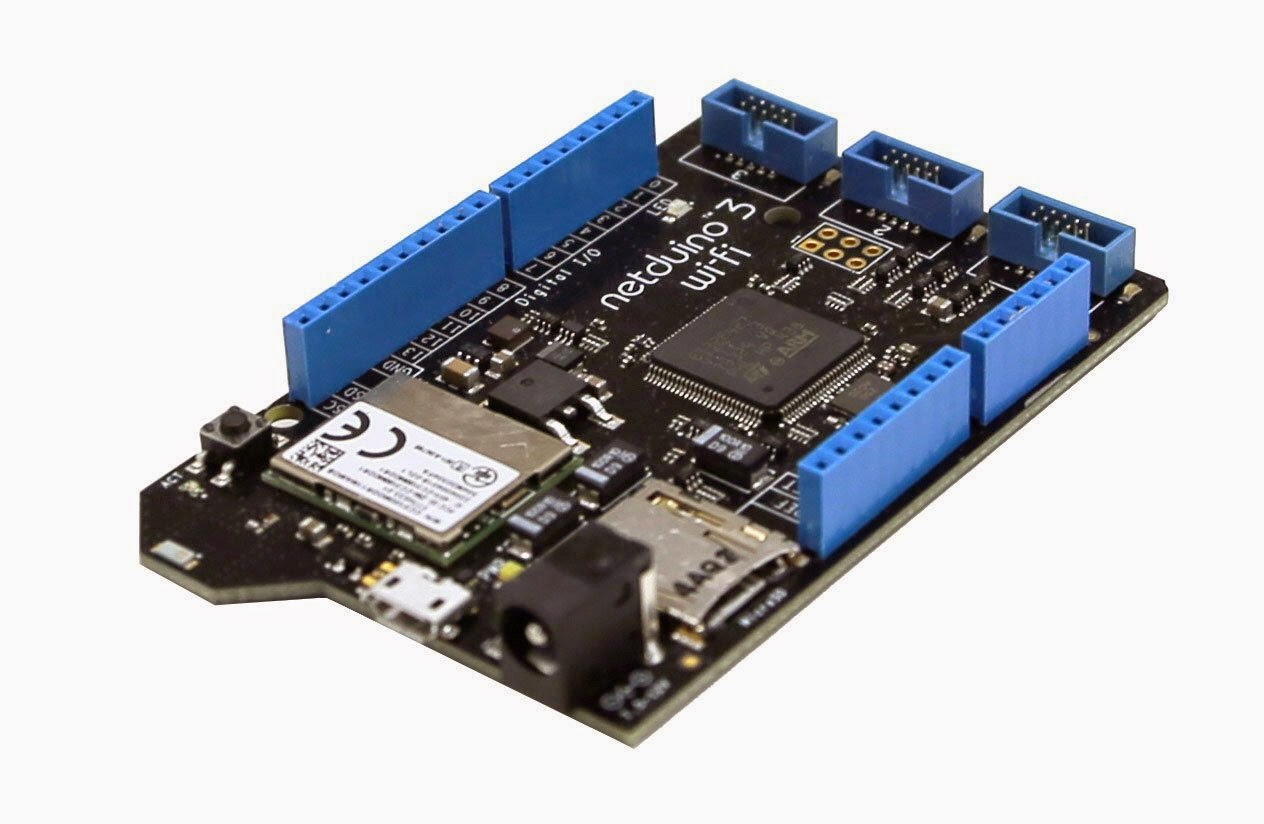 En la presentación oficial en el foro se han publicado algunas de sus características más destacadas:
- Micro: STM32F427VI Rev 3
- 2MB dual-bank flash (twice as much as NP2)
- 256KB RAM including 64KB core-coupled RAM (33% more than NP2)
- Wi-Fi: TI CC3100, 802.11b/g/n (2.4GHz)
- Supports open networks, WEP and WPA2
- Built-in support for the latest SSL security (including TLS 1.2)
- Three GoBus 2.0 ports (for plug and play components)
- Support for even more Arduino shields (with ICSP header pads)
- New miniature shield-friendly pushbutton
- Brand new power subsystem and power management.
Imaginé que su precio iba a ser muy alto pero en realidad está en el promedio. Para mi sorpresa la caracteristica que más esperaba, el poder configurar la wireless aparecia desactivada en el MS Deploy. Buscando actualizar el firmware al más reciente arruine completamente la board. Quedó permanentemente en Modo TinyBooter y no volvio a responder.
Después de un rato encontre en los foros de netduino la solución, re flashear la board manualmente. Aunque el proceso es más largo que una actualización normal y asusta un poco, funciona perfectamente.
Lo encuentran en esta URL
http://forums.netduino.com/index.php?/topic/11842-how-to-recover-non-responding-netduino-3/
Sin embargo aqui les dejo los pasos tomados desde los foros oficiales
To manually flash firmware using ST DFUSE tools, grab the latest copy of ST's DFUSE tools from the download link at the bottom of the following page:
http://www.st.com/web/en/catalog/tools/FM147/CL1794/SC961/SS1533/PF257916
To erase your board's firmware (do this first):
1. Detach your Netduino
2. Press and hold your Netduino's pushbutton while plugging it in via USB; this will put it in bootloader mode.
3. Erase the firmware on your Netduino using the STDFU Tester application
> a. Select the "Protocol" tab
> b. Press the "Create from Map" button
> c. Select the "Erase" radio button option
> d. Press the "Go" button
> e. Wait for erase process to complete
To create the DFU files which you will program onto your Netduino:
1. Run "DFU File Manager" (from the ST DFU tools)
2. Select "I want to GENERATE a DFU file" and press OK.
3. Click "S19 or HEX..." and then select one of the firmware files in Netduino Update's respective Firmware folder.
4. Click the "generate" button to generate a DFU file which contains the S19 (HEX) file you picked in step 3.
5. Click "delete selected image".
6. Repeat steps 3-5 for the other two firmware files.
Finally, flash each of the .DFU files using the ST DfuSe Demonstrator application (included with STDFU Tester).
1. Run "ST DfuSe Demonstrator"
2. Locate the "Upgrade or Verify Action" pane (bottom-right pane)
3. Press "Choose..." and select one of the generated DFU files
4. Check the "Verify after download" option
5. Press "Upgrade". It will take a few moments to update your Netduino.
6. Repeat steps 3-5 for the other two firmware files.
After you have flashed all the .DFU files, detach and reattach your Netduino (power cycle) or press "Leave DFU mode".
No hay comentarios:
Publicar un comentario